Discover top-rated UK property investment events, bootcamps, and mentors, including Martin Roberts, Stuart and Scarlette Douglas.
Read More
In today’s market, visuality plays a very crucial role.
Table of Contents
ToggleA recent survey discovered that 63% of consumers value good images more than product descriptions. The same applies to any property business.
Here are some of the best property photography tips and hacks from our real estate marketing experts:
Just as how a model is groomed and dressed before a fashion shoot, your property needs good staging too.
Prepare the place as if a VIP guest is about to pay a visit. Declutter and organize the rooms. Take out your best linen and cutleries, wipe clean all windows, buy some fresh flowers, and make sure all lighting fixtures are working. You may also consider re-painting.
Natural lighting is very important. Check the weather forecast to time your shoot on a sunny day with a clear sky. This is a particular must if your property features lovely outdoor views.
Additionally, set the schedule for either early morning or late afternoon. The golden hours, which are the hour after sunrise and before sunset, are considered by most experienced photographers to be the best time of the day to do shoots. During these hours, the natural light is not too intense since the sun is still near the horizon.
You can consider adding a few evening shots too if the property has a charming night-time look.
Many people know their “best angle” when getting their photo. Similarly, you have to know the ideal viewing points for each room of your property.
You don’t have to show all the walls in the shot, but it is important to capture the key features such as furniture and fixtures. The shots should also emphasize the architectural highlights of the room. Features such as a vaulted ceiling, spiral staircase, bay window, stone-bricked wall, or arched doorway would likely appeal to viewers.
Though it is given that aesthetic attributes should be highlighted, do not forget that your property photos also have an informative motive. Potential clients do not just want to view the place, they want to understand it too in a practical sense.
You might think a laundry room might not be necessary to include since it is not as visually appealing, but it can add functional value. Showing the stairs in the living room photo informs viewers that the house has a second storey. If the kitchen counters come with under-cabinet lighting, then shoot the area with the lights turned on.
Most real estate photographers use wide-angle lenses. This lens type allows you to cover most of the room in a single shot thanks to its wide-angle focal length. It is particularly helpful in small spaces such as bathrooms.
Never use fish eye lenses as these produce distorted images that can misrepresent the proportions and dimensions of the rooms.
Another tip that is common knowledge among professional property photographers is to shoot with the camera upright. All vertical lines such as walls, columns, doors, and railings should be straight. This produces images that are more accurate and easier to understand.
Usually, property photos are designed to work like a walk-through tour – a series of photos showing one room after another.
However, don’t be afraid to add a few creative shots too. A close-up of a decor piece detail, a portrait of a reading corner, or images with a bokeh effect can add visual variation and interest to the viewing experience.
Your photos should not just say, “this is what the place looks like.” Rather, produce photos that say, “this is what it’s like to live here.”
Do this by adding elements that subtly suggest human presence, perhaps a pair of coffee mugs on the breakfast nook, a lighted candle in the living room, or potted plants here and there,
People want authenticity. Don’t over-edit photos or add features that are not really part of the property. Many potential buyers get turned off by misleading information.
Was this blog helpful?
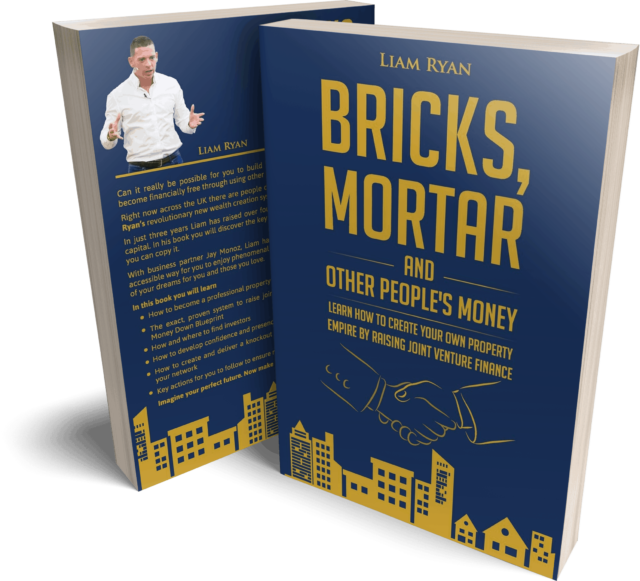
There is so much more that we can teach you about running a property business. Click HERE to get a free guide from our company founder, Liam Ryan.
Discover top-rated UK property investment events, bootcamps, and mentors, including Martin Roberts, Stuart and Scarlette Douglas.
Read MoreDiscover how to earn £1 million through UK property investing with practical strategies and expert tips for new and aspiring investors.
Read MoreGrow your UK property portfolio from scratch with expert tips, creative strategies and free online buy-to-let training.
Read MoreLearn property investment from UK experts with Assets For Life. Free courses, mentorship, and proven wealth-building strategies.
Read More
Claim Your Free Copy
Assets For Life LTD is a company incorporated in England and Wales with registered number 09935286 and registered offices at Assets for Life Ltd, Suite 105, Waterhouse Business Centre, 2 Cromar Way, Chelmsford, Essex, England, CM1 2QE, United Kingdom.
Assets For Life LTD is registered with the Information Commissioner’s Office, with registration number ZA280607
COPYRIGHT © 2024 ASSETS FOR LIFE, ALL RIGHTS RESERVED. WEBSITE BY AMPLIFY MARKETING